


These are your materials. I used an old canvas that I covered with white paint so the color underneath the fabric is uniform. Sometimes that matters, sometimes it doesn't, depending on how light your fabric is. You'll also need a rotary mat and cutter, a ruler, and a stapler or staple gun (if using a stapler, you'll need one that can open up so that the inside part where staples come out is able to lay flat against the wood).

Next lay out the fabric and choose the best part of the fabric for the final look. I chose a part that had a bit of everything, a flower, branches, and some large leaves... Then place the canvas on the fabric and use it as a guide where you're going to cut. You could use a fabric marker to trace where you'll cut once you measure the amount you need on each side. I use a rotary knife and my ruler.

Next I measure how much fabric I'll need around each side, I like to use somewhere between 1 1/2 - 2 inches. You just need enough to stretch the fabric up around the sides of the canvas and staple into the wood frame of the canvas.

This is what it will look like when you are finished cutting and have flipped the fabric over and placed the canvas on the fabric.

Next you're going to take one side and staple the fabric several times along the wood frame, maybe one solid staple per 2-3 inches.
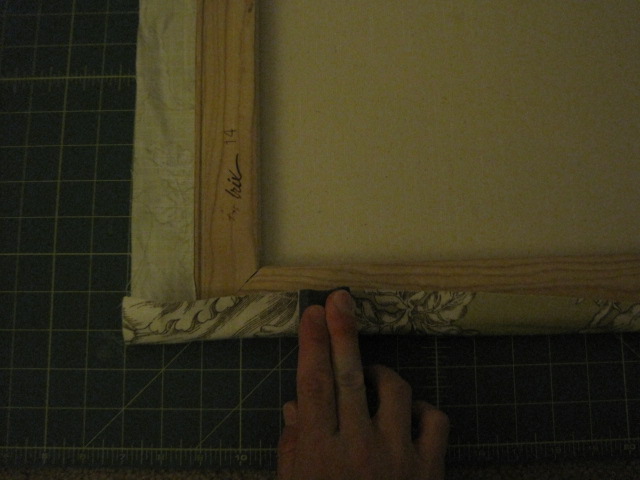
Once you get to the corner you're going to fold the corner fabric once, twice, and a third time, kind of like wrapping a present. Make sure it's taught but don't pull so much that you're distorting the picture on the front.

Staple the corner a few times making sure it's secure. Now you can continue pulling slightly and stapling each side and corner until you get to the last corner..

The last corner.
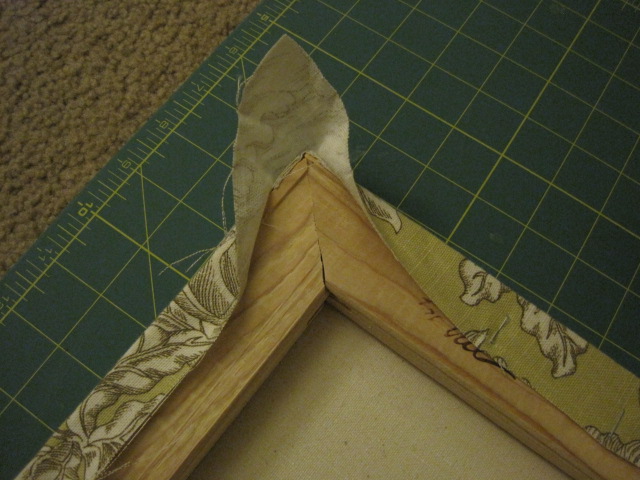
It can be a little tricky but you need to tuck the edge in and fold over it making the last corner, there are times when I can do it in a tuck and one fold and other times where it works out better to do two folds.

Now staple the fabric to the wood so that your corner is neat and tight, and now you're done with one side and a corner.

And you're done, and you have a little something pretty for a wall. I have made several of these out of children's fabric for my son's room, and he LOVES them!! : )


